
While the instructions posted for installation and calibration of the ADXL 345 work fine, there are more functions available for those who like a bit more ‘in depth’ data. Also, be aware, that while the calibration does indeed set the Input Shaper parameters correctly it does not seem to update this in the Printer.cfg file which is visible in the mainsail interface – we do not suggest adjusting this since it seems to be getting these from another file.
The calibration runs both X and Y axes across a range of frequencies from 1-133 Hz (sounds like a jet engine winding up – though its fairly quiet) – if you follow the instructions all the way through it sets the input shaper to match the resonances of your individual printer. When its done dismount the accelerometer since you don’t want the extra weight on the high speed moving head (you may even want to consider leaving the sexy, but weighty, cover from the front of the head).
The calibration process produces 2 super complex csv files, on the Speeder pad, containing the results of each individual test (don’t worry, you don’t need to interpret this stuff) and Klipper comes bundled with a number of useful Python scripts – which, fortunately, you can get access to – however, you can’t run them from the Mainsail interface because it rejects some parts of the needed commands so you need to download another piece of software to handle this.
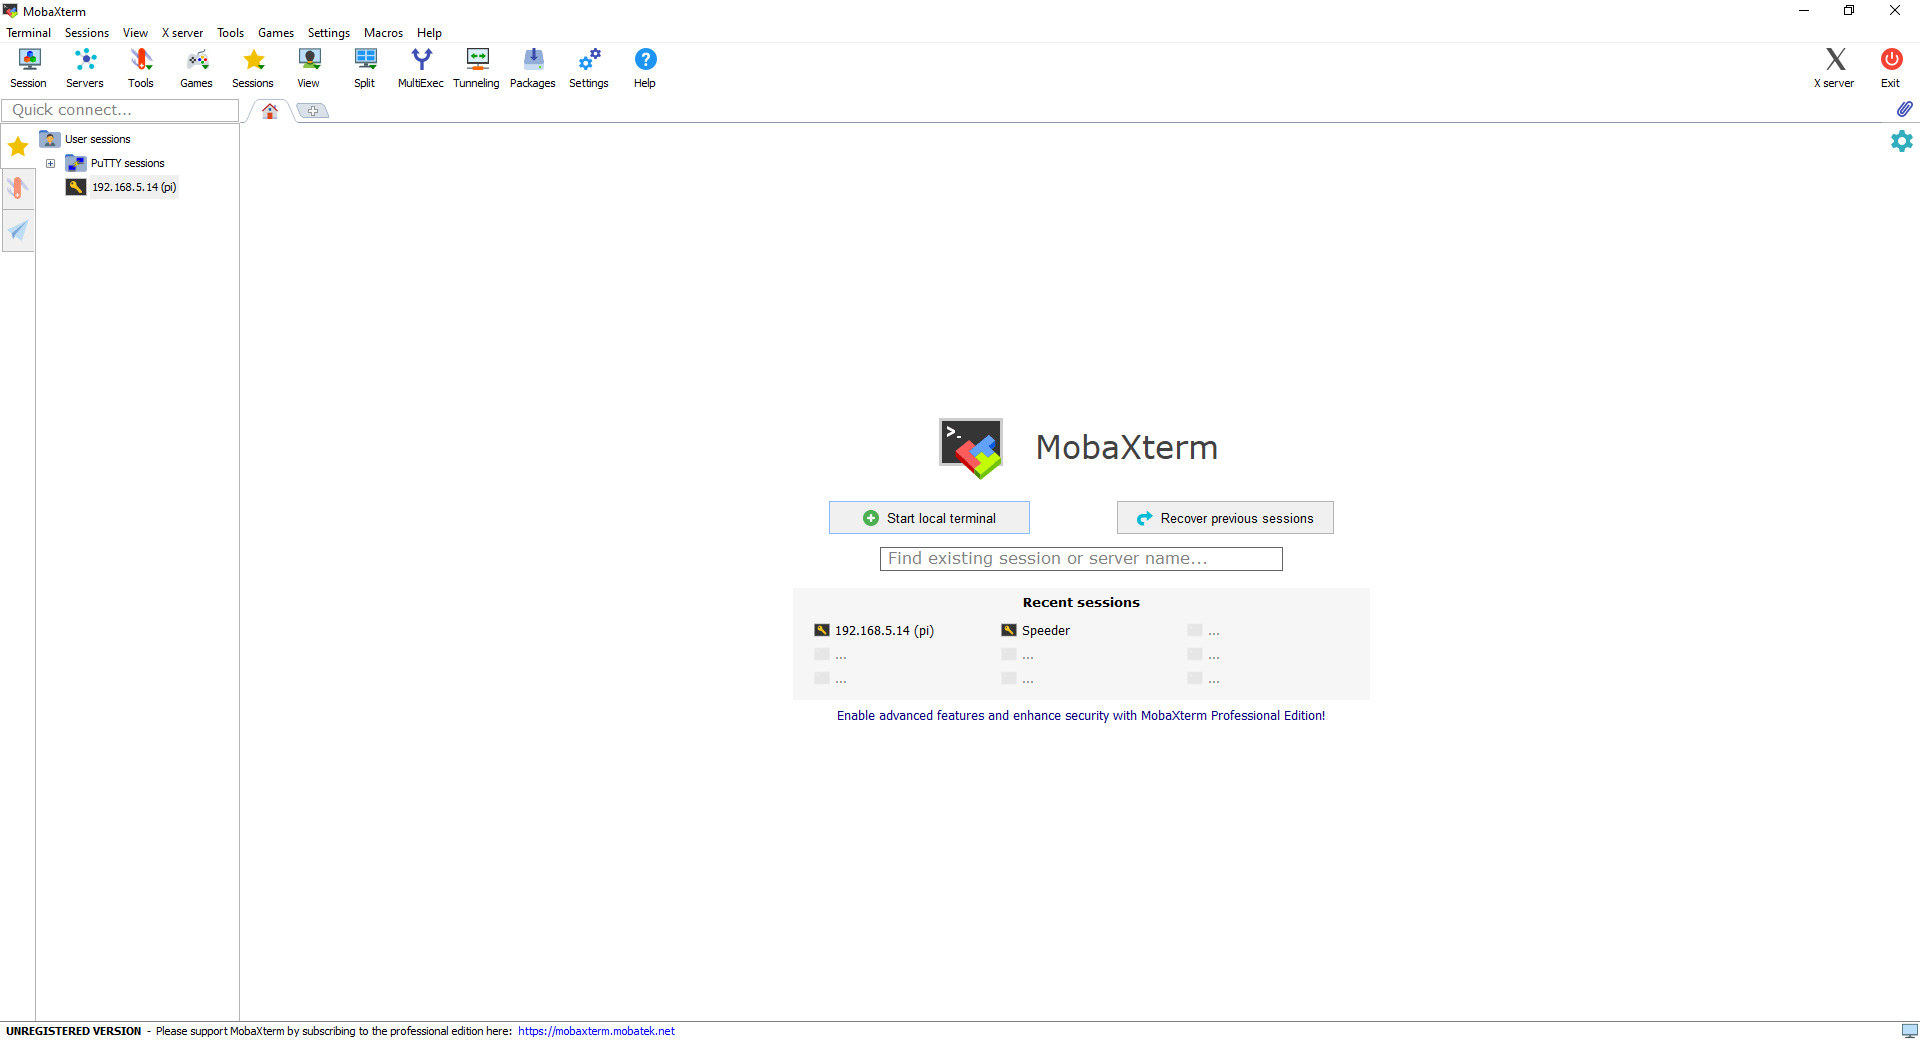
There are a number of combinations you can use (ie PuTTY and FileZilla) but the simplest way, if you don’t already use those, is MobaXTERM – its free and easy to download and install (or there’s a portable version if you just want an EXE file you can stick on a memory stick. You can download it from https://mobaxterm.mobatek.net/download-home-edition.html. Once you have it up and running it will show you a screen with ‘Start Local Terminal’ green button.
Once you’ve established this connection it will save the details for the future. At this point you’re going to need to know the IP address of your Speeder Pad (this is what you use to access Mainsail so chances are you already know it but, if not, on the Speeder click Configuration and then Network. If its connected correctly to your network then your connection should be at the top with a number of details – the line you’re interested in is both the line right at the top that should show wlan0 and an address and also the IPv4: line in the details – the address should be something like 192.168.0.23 (but not that exact address) – write this down as that is where you need to go….
Now click the start local terminal button and a black screen will open on the right of the screen (assuming that’s what you chose during the install) – press Ctrl + Shift + N and a new session will open like this
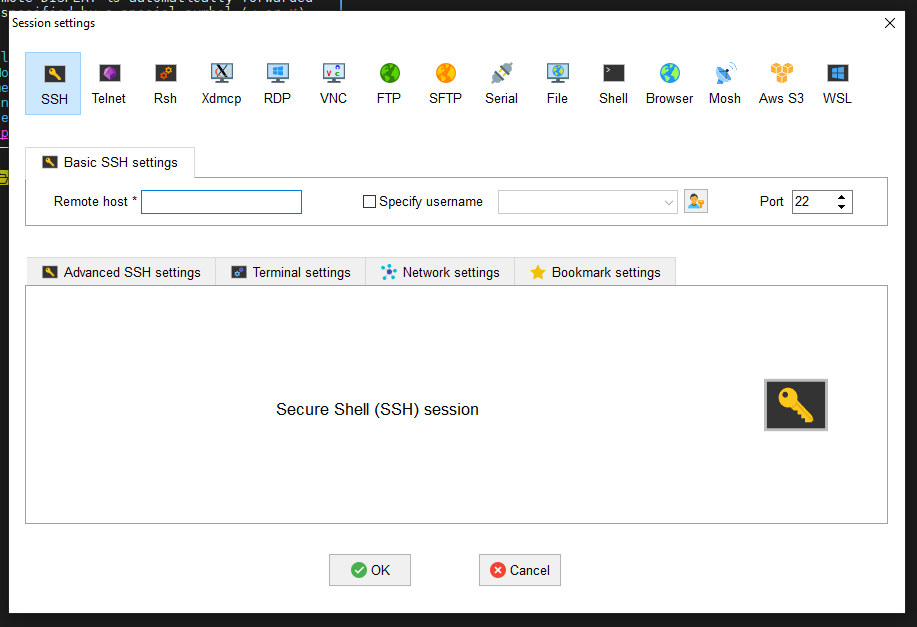
In Remote Host you put the address of your Speeder Pad. Click the ‘specify username’ box and, assuming its still on FLSun default settings then the username is pi – if you have changed this then insert the appropriate user. The terminal will open and ask you for the password which is flsun (again, unless you’ve changed it) – an option comes up to save this – its easiest, but up to you. You should end up with something similar to this.
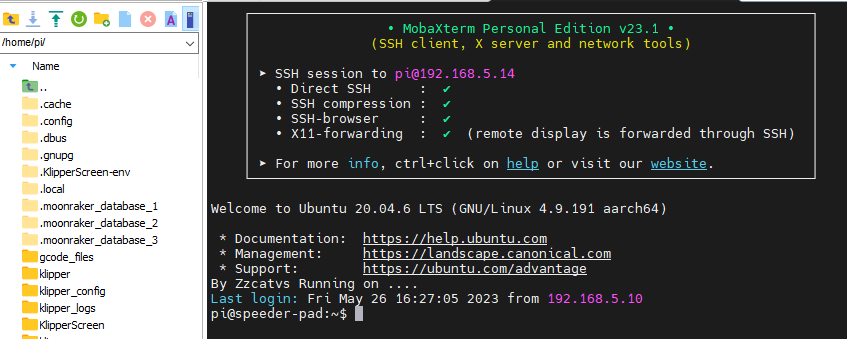
Now, assuming you followed the previous install instructions double click the ‘go back’ icon ![]() – the display should change to only show the pi directory – now double click it again and you should get the root of the drive. Find the tmp directory and double click on that – you should see a list of files toward the bottom and a couple of those should be called calibration_data… plus some stuff. These are what we want (but you don’t need the details). Click on the right hand side and, at the cursor, type (or copy/paste) – ~/klipper/scripts/calibrate_shaper.py ../../tmp/calibration_data_x_*.csv -o ../../tmp/shaper_calibrate_x.png – best to copy that because it needs to be exact. It will take a moment and output something like…
– the display should change to only show the pi directory – now double click it again and you should get the root of the drive. Find the tmp directory and double click on that – you should see a list of files toward the bottom and a couple of those should be called calibration_data… plus some stuff. These are what we want (but you don’t need the details). Click on the right hand side and, at the cursor, type (or copy/paste) – ~/klipper/scripts/calibrate_shaper.py ../../tmp/calibration_data_x_*.csv -o ../../tmp/shaper_calibrate_x.png – best to copy that because it needs to be exact. It will take a moment and output something like…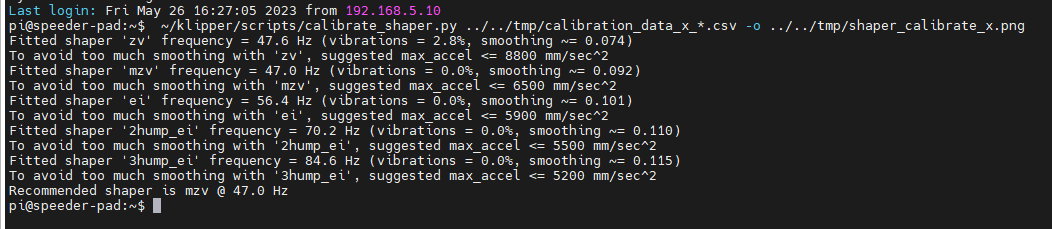
You can write these down (or screenshot it) if these are interesting to you but what’s coming is even better. Assuming this worked then re-run it replacing _x with _y in both places ( ie ~/klipper/scripts/calibrate_shaper.py ../../tmp/calibration_data_y_*.csv -o ../../tmp/shaper_calibrate_y.png). Now you will have 2 files in the directory – click on the list on the left and press F5 and it will refresh – you should now see two called calibrate_x.png and calibrate_y.png. Click on one of them, hold down CTRL and click on the other and it should select the two files. At the top is a download button(![]() ) this will ask you where you want to save them on your machine. Once you have the files you can open them in Photos, Paintbrush or similar and you should have 2 graphs looking like this…
) this will ask you where you want to save them on your machine. Once you have the files you can open them in Photos, Paintbrush or similar and you should have 2 graphs looking like this…
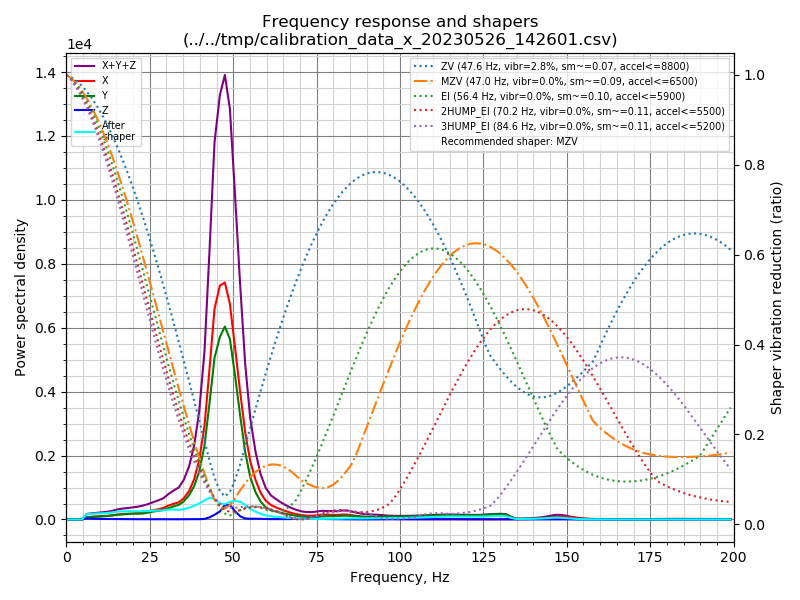
You can use that to further fiddle with the input shaper if you want – much more reading is available at https://www.klipper3d.org/Measuring_Resonances.html
Enjoy 🙂