Description
Replacement belts, original FLsun
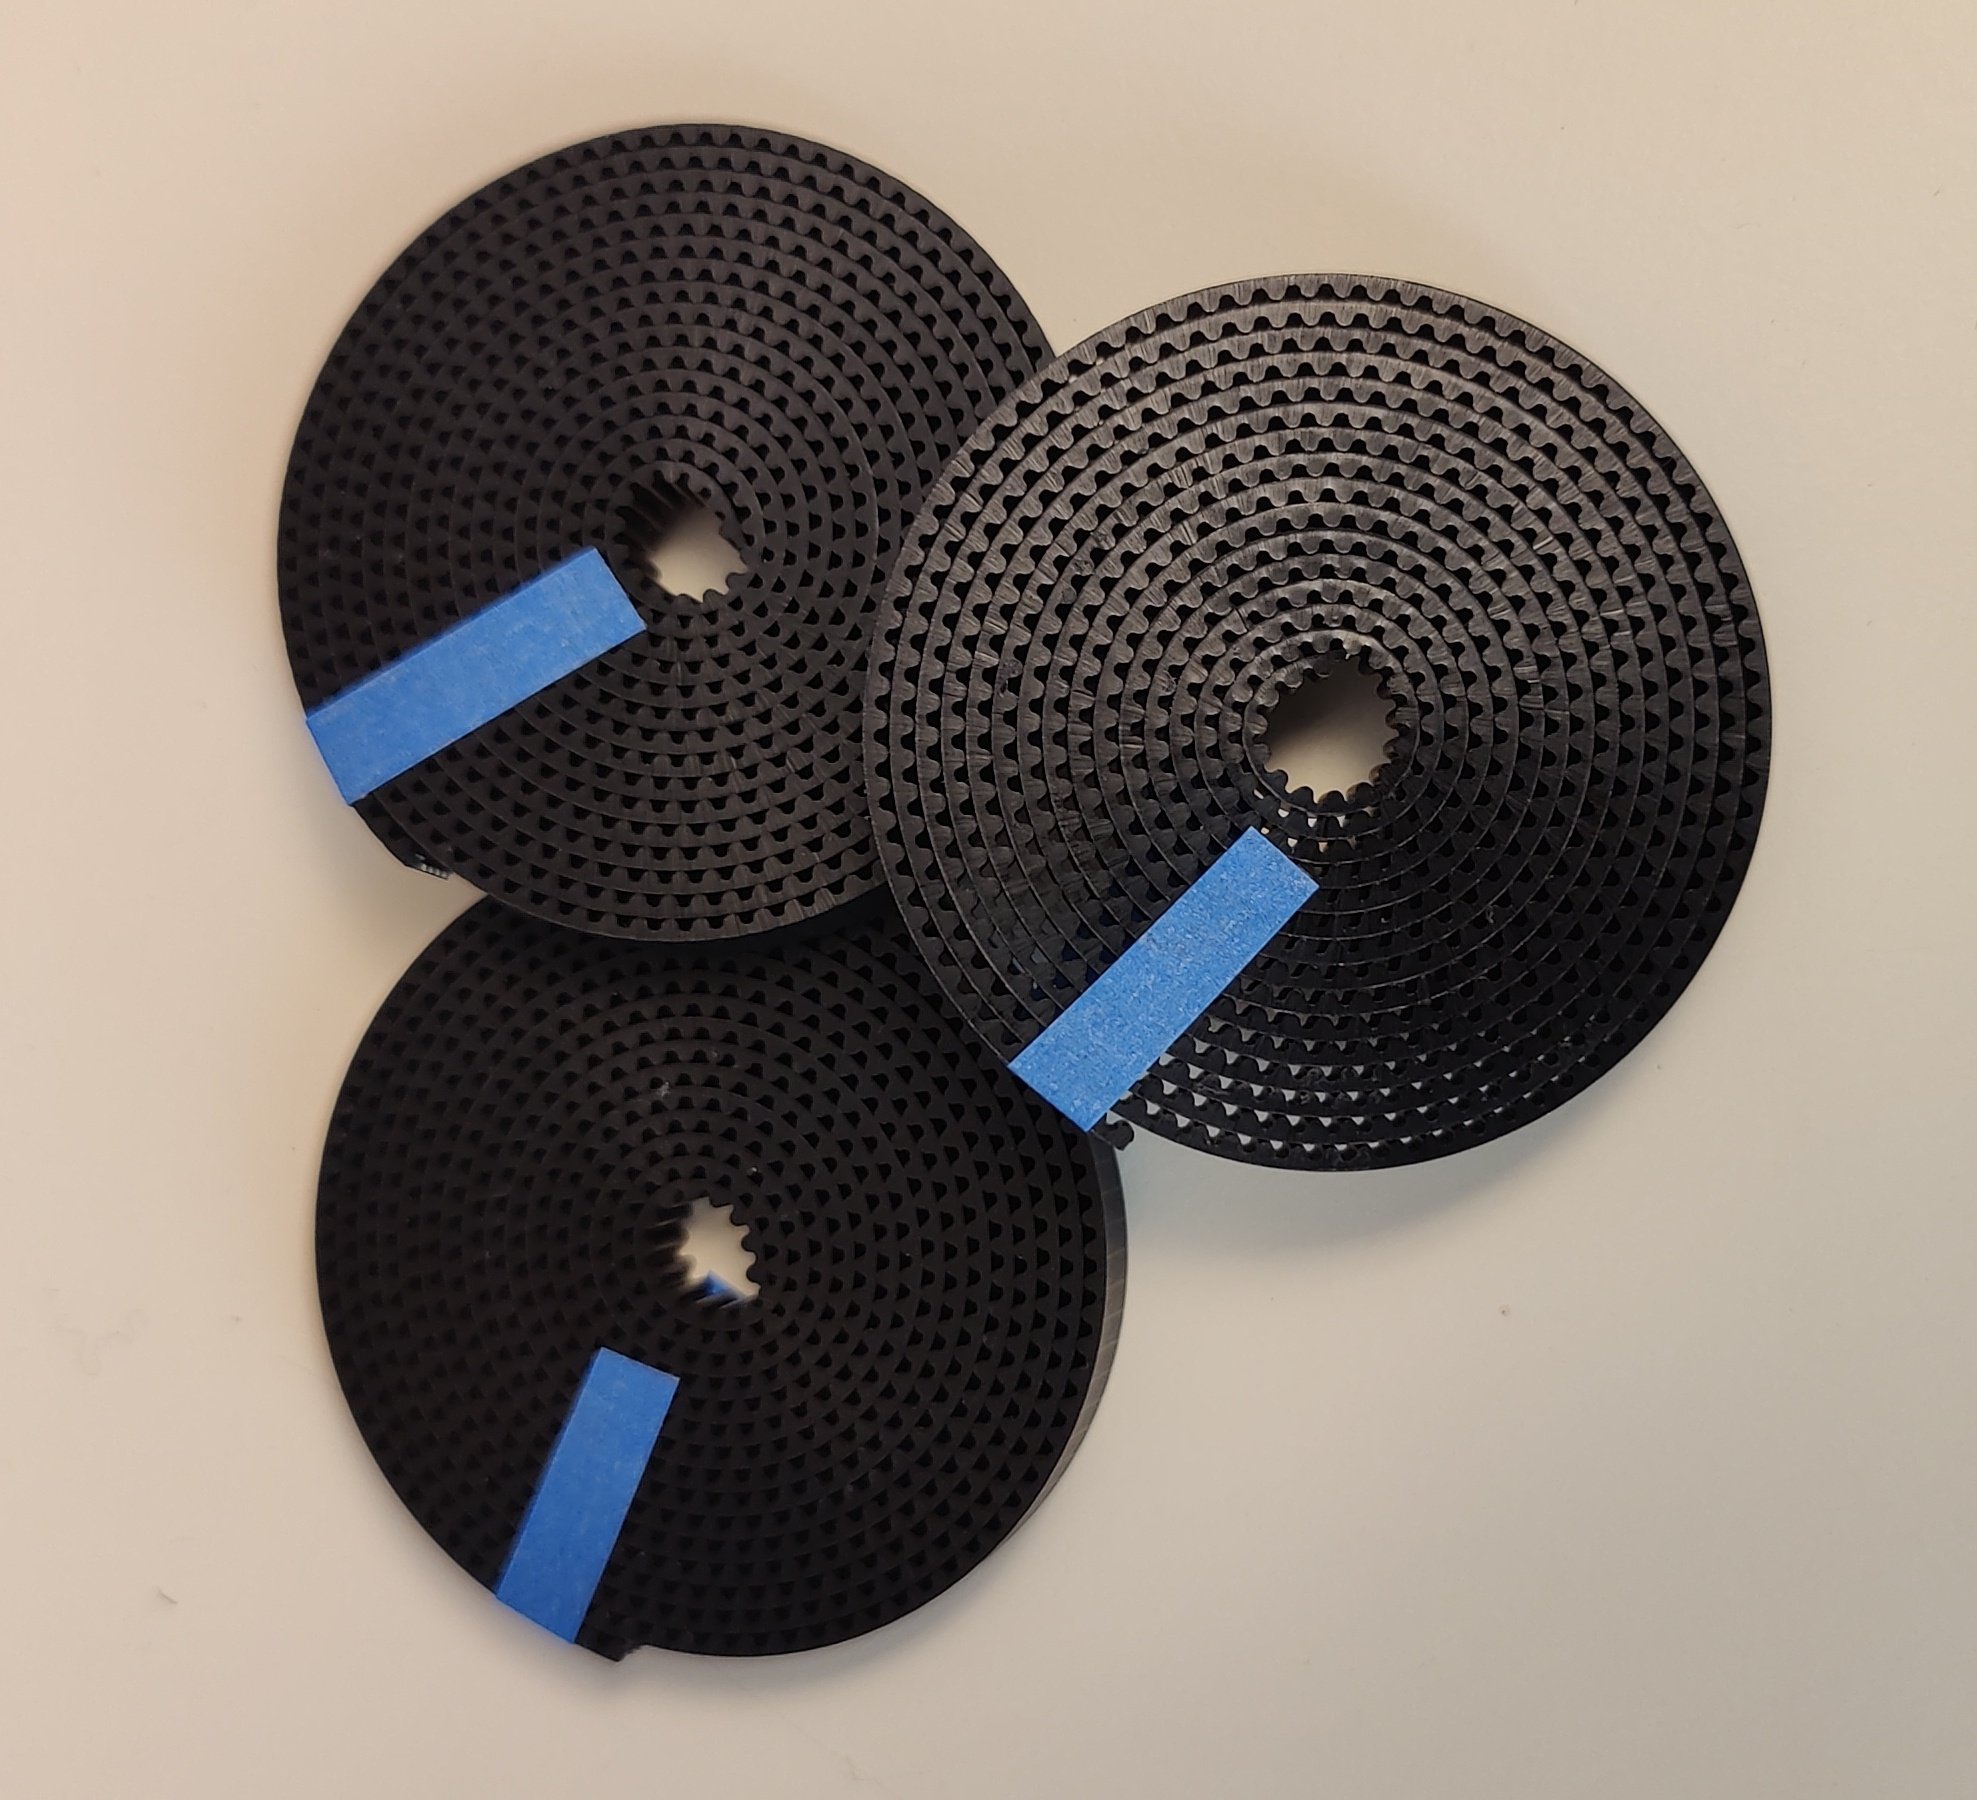
A set of 3 belts all cut to the correct length for the QQ-S
They are the newest Kevlar type, being supplied with the latest FLsun printers, so they are less prone to stretching.
x3 @ 1486mm each, precut
INSTRUCTIONS FOR FITTING
To assist you with fitting your new belts, we recommend this procedure.
With your QQS fully assembled, on the desk in front of you:
Fit one belt at a time. Do not try to do all three together
You need one Philips (cross) screwdriver, one small flat screwdriver, one stapler, and some patience
Move the head so it is resting on the bed. Some cardboard beneath the bed is a good idea to avoid scratching
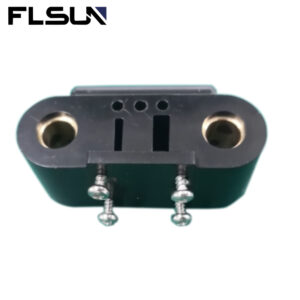
Undo the knurl screw at the top, holding the belt you are about to do
Undo the four screws retaining the cover, on the arm, where the belts meet
Pull the belts each side of where they are retained until the clip allows them to pull out. Don’t be afraid to exert too much force
Don’t lose the retainer!!!
Slide the top pulley off of the belt and set aside
Slowly pull the longer side of the belt until just 20cm remains on the other side
Get your paper stapler ready
Unroll one of the new belts and place one end on the stapler, next to the old belt end (the 20cm tailend). Staple them together. The hole will not affect the use of the new belt!
Now SLOWLY pull the old belt out, pulling the new belt through. If all goes well, now the new belt is on your unit, not the old one.
If steps 11 & 12 go wrong, you will need to place your unit on its side, remove the bottom cover, remove the plastic cover on the motor you are working on (just pull. It is tight, and has some glue on it). Now for the new belt, and then replace the cover.
Now put the upper pulley back on. The bolt head should face out, with the nut facing inwards
Now out the two ends back in to the slot, with the retainer clip. We find putting the belt just a mm or two ahead of the clip works well. There is an odd number of teath, so the belt join is slightly offset. It matters not.
Now refit the belt to the top of the unit, with the knurl screw, making sure the other half of the belt goes in to the slot on the arm
Finally, put the cover back on and tighten the four retainer screws
Well, we said finally, but actually, the final step is to set the belt tension. It is less than you think!!!!! That is why you are having to change them, probably.
Now repeat for the other two arms.
Given how easy it is for them to be damaged, we recommend keeping a spare set of belts ready for the next time it occurs. Belts are disposable items and must ALWAYS be changed in sets, not just the damaged corner.
You can recognise when a belt is stretched as the parts you print will lean to one side. On the QQS, they lean towards the stretched belt.